How to Transplant AeroGarden Plants & Herbs into Soil (Step-by-Step Guide)
If you’ve been growing plants in an AeroGarden, you already know how easy it is to grow herbs, lettuce, tomatoes, and peppers indoors year-round.
But at some point, many gardeners ask the same question: Can I transplant AeroGarden plants into soil?
The answer is yes — and in many cases, it’s a great way to expand your garden, save overcrowded plants, or move seedlings outdoors.
In this guide, you’ll learn exactly how to transplant AeroGarden plants and herbs into soil without shocking or killing them.
Why Transplant AeroGarden Plants?
There are a few common reasons gardeners move plants from hydroponics to soil:
1. Your AeroGarden is overcrowded
It’s very easy to overplant your unit (especially if you use all the pods). As plants mature, roots compete for space and light becomes limited.
Transplanting helps you save healthy plants instead of sacrificing them.
2. You started seedlings indoors
Many gardeners use their AeroGarden as a seed-starting system before moving plants into raised beds or containers outdoors.
3. You’re ready to reset your system
When it’s time to clean and restart your AeroGarden, transplanting allows you to keep plants that still have productive life left.
What You’ll Need
Before you start, gather:
Small pots (3–6 inches or larger for mature plants)
High-quality seed starting or potting mix
Scissors or small pruners
Watering can or spray bottle
Optional: gloves (for root protection)
Step-by-Step: How to Transplant AeroGarden Plants
Step 1: Choose the right plants
Not every plant handles transplanting equally well.
Best candidates include:
Lettuce
Herbs (basil, parsley, mint)
Peppers
Tomatoes (younger plants transplant best)
Older, woody plants are more sensitive and may struggle more.
Step 2: Prepare your pots
Fill pots about two-thirds full with moist potting mix.
Lightly water the soil so it’s damp but not soggy.
Create a small hole in the center for the root system.
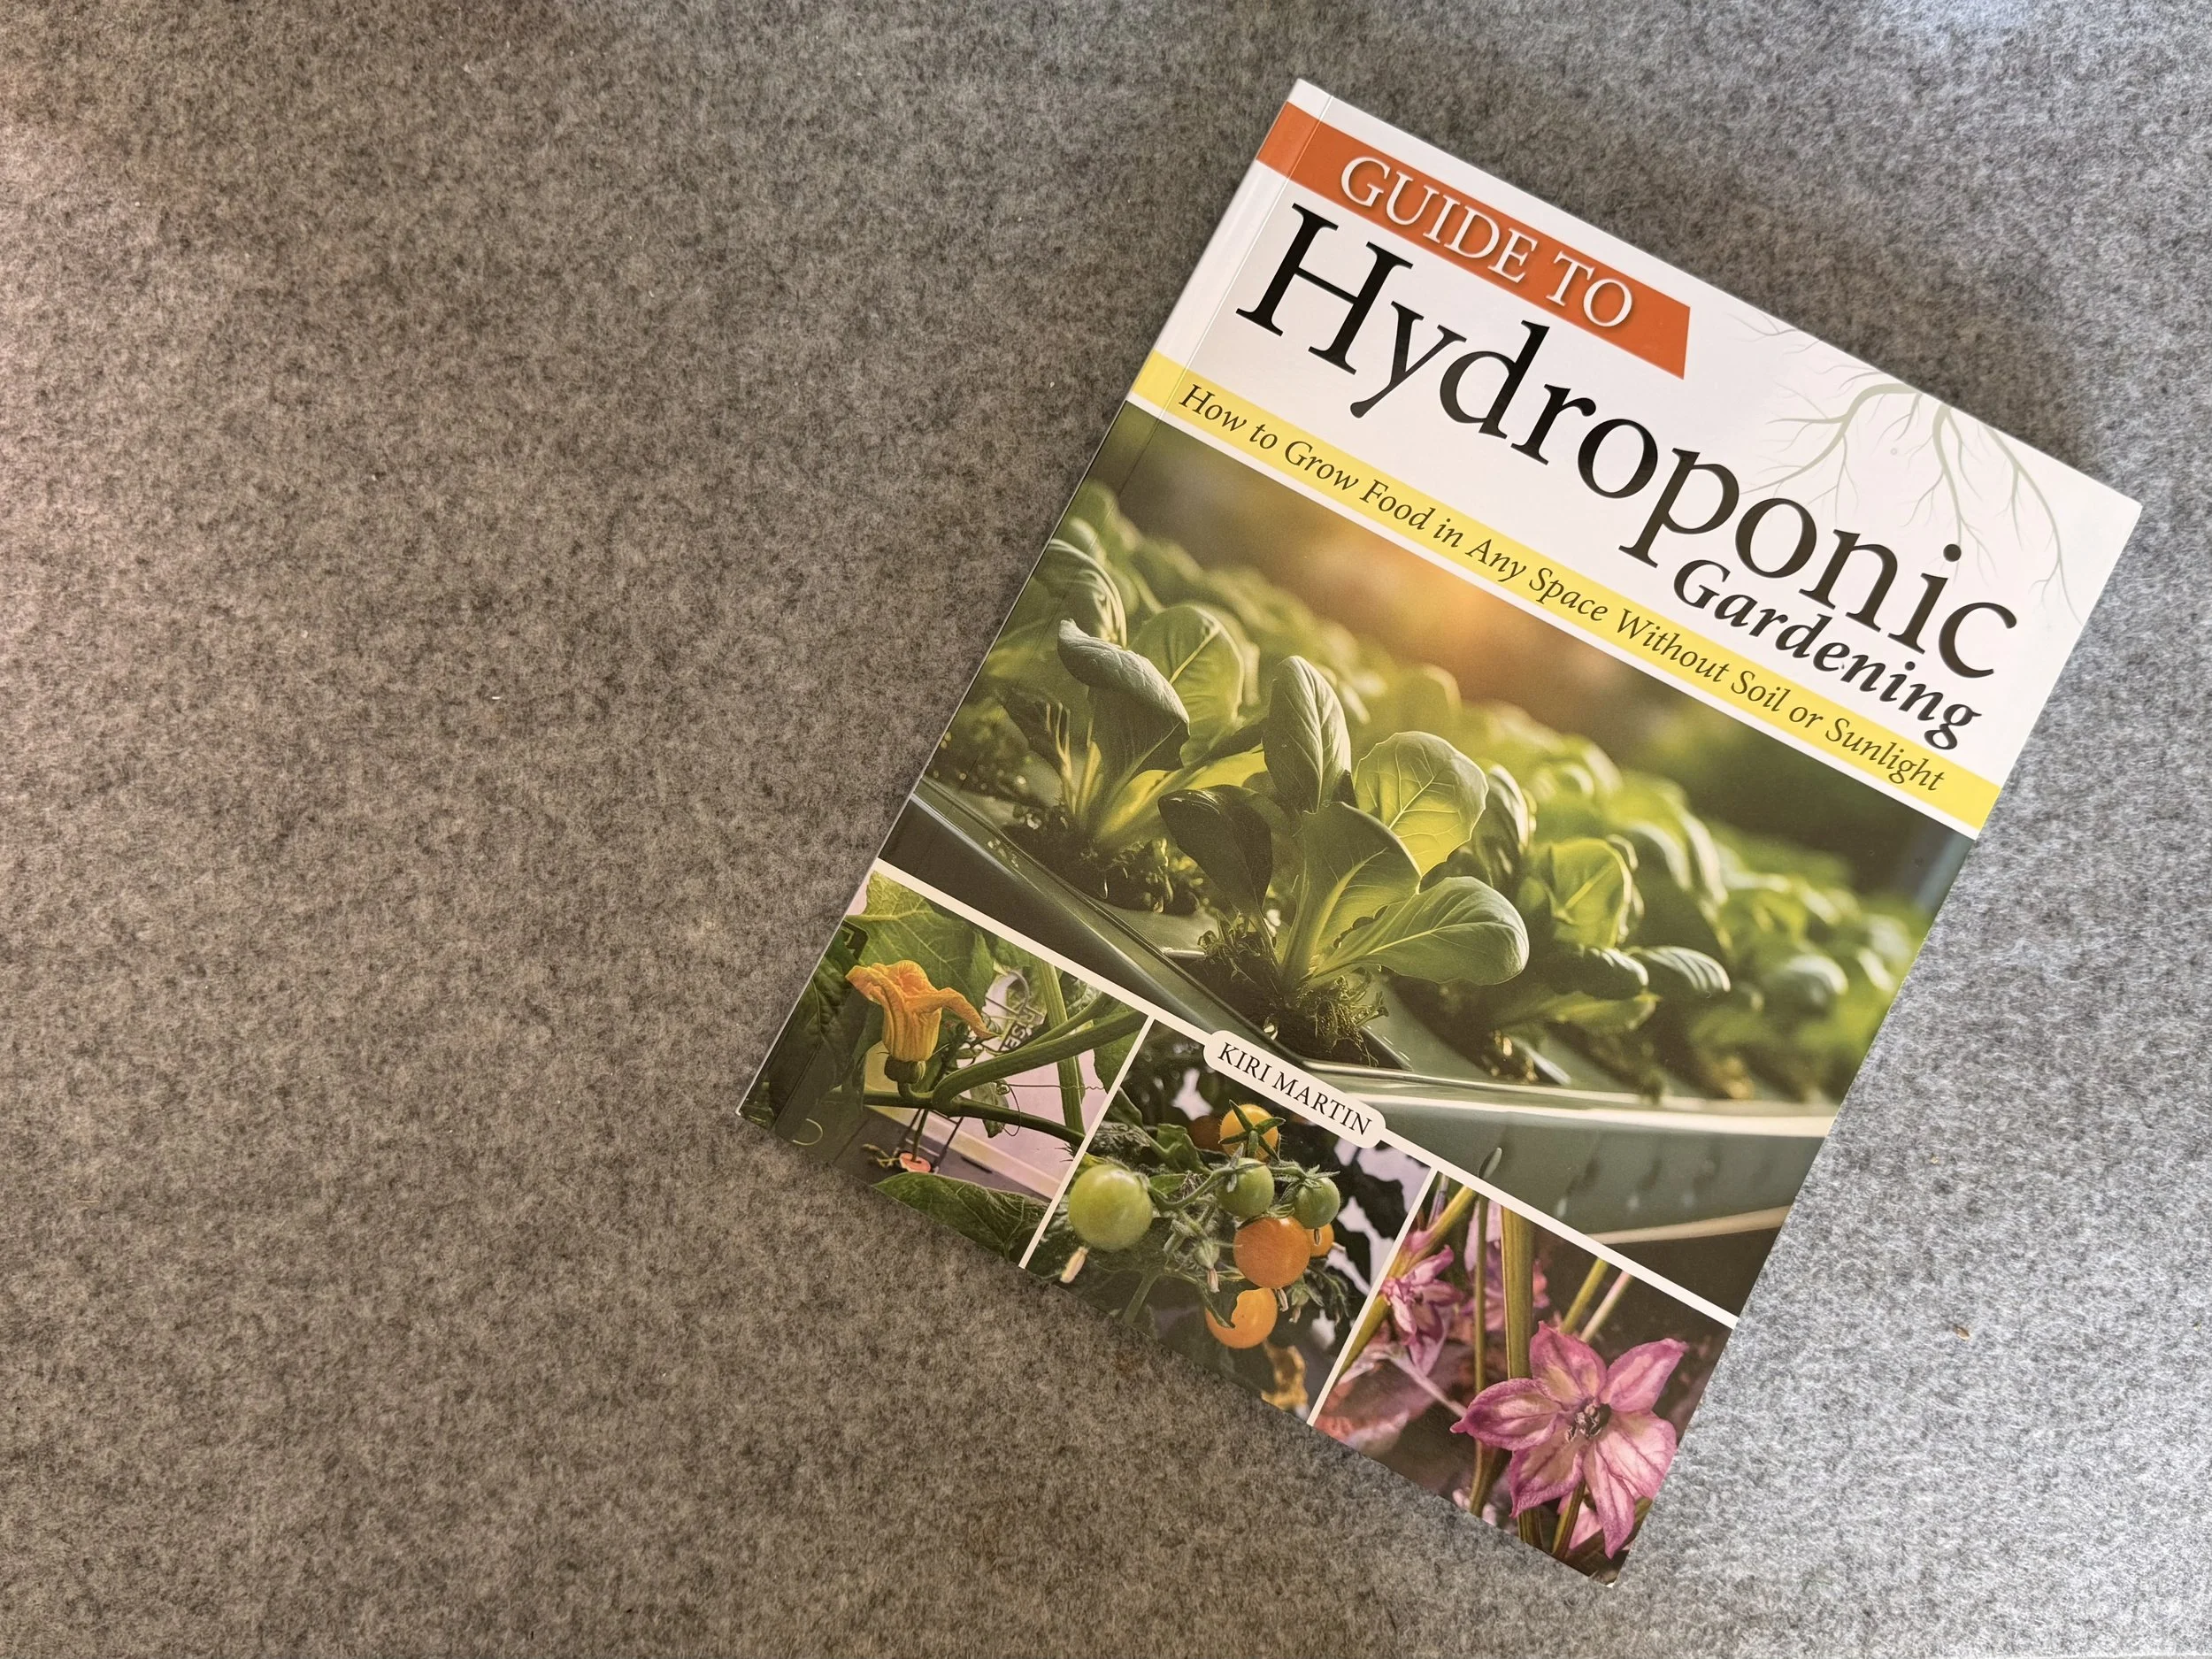
Check out my book
👉 🇨🇦 [Buy on Amazon.ca]
👉 🇨🇦 [Buy on Indigo]
👉 🇺🇸 [Buy on Amazon.com]
👉 🇬🇧 [Buy at Hatchards]
👉 🇦🇺 [Buy at Booktopia]
Step 3: Remove plants from your AeroGarden
Gently pull the grow basket from your AeroGarden unit.
For tightly rooted plants:
Wiggle the basket slowly side to side
Avoid pulling forcefully
If needed, trim surrounding roots carefully
Hydroponic roots are often long and delicate, so patience matters here.
Step 4: Decide whether to remove the grow sponge
You have two options:
Option A: Leave it on
Lower risk of root damage
Often better for beginners
Option B: Remove it (carefully)
Gives roots more freedom in soil
Requires scissors and patience
Best for experienced gardeners
There’s no wrong choice — it depends on how established the plant is.
Step 5: Plant into soil
Place the plant into your prepared pot.
Then:
Spread roots gently
Fill in with soil
Press lightly to secure the plant
Keep the grow sponge level with the soil surface
Avoid burying the stem too deeply.
Step 6: Water thoroughly
Water immediately after transplanting to help soil settle around the roots.
For the first few days:
Keep soil evenly moist
Avoid letting it fully dry out
Consider bottom watering for gentler hydration
Step 7: Give it time to adjust
Your plant is transitioning from hydroponic growth to soil-based nutrients.
Expect:
Slight drooping for 1–3 days
Slow growth pause
Gradual recovery and strengthening
Keep it in indirect light for about a week before moving it to full sun.
Step 8: Harden off before outdoor planting (if needed)
If you plan to move plants into your garden, don’t skip this step.
Gradually introduce plants to outdoor conditions over 7–10 days:
Start with 1–2 hours outside
Increase exposure daily
Avoid harsh wind and full midday sun initially
This reduces transplant shock and improves survival rates.
Final Thoughts
Transplanting AeroGarden plants into soil is a simple but powerful way to extend your growing season and maximize every plant you start indoors.
Whether you’re clearing space in your hydroponic setup or moving seedlings into the garden, the key is patience and gentle handling of the roots.
Once established, transplanted herbs and vegetables often thrive outdoors — especially after a strong indoor start in an AeroGarden system.