How to Clean an AeroGarden (Step-by-Step Maintenance Guide)
Let’s be honest—if you’ve been using your AeroGarden for a while, chances are it’s not as spotless as the day you set it up.
Mine definitely wasn’t.
But proper cleaning and maintenance is essential if you want healthy plants, strong growth, and a system that lasts. I’ve learned (the slightly messy way) that cleaning between plantings makes a huge difference.
So today I’m walking you through exactly how to clean an AeroGarden step by step.
Disclosure: This post contains affiliate links. If you purchase through them, I may earn a small commission at no extra cost to you.
Why Cleaning Your AeroGarden Matters
If you grow indoors regularly, your system will naturally build up:
Algae
Sediment
Root debris
Nutrient residue
Over time, this can affect water flow, plant health, and even pump performance.
Best practice: Clean your AeroGarden between every planting cycle.
Yes—I know. I didn’t always do this either. But trust me, it’s worth it.
Step 1: Power Down and Drain the System
Start by:
Unplugging the unit
Removing the water pump and water level sensor
Carefully emptying the reservoir
Be cautious here—old nutrient water can be messy and contain algae buildup.
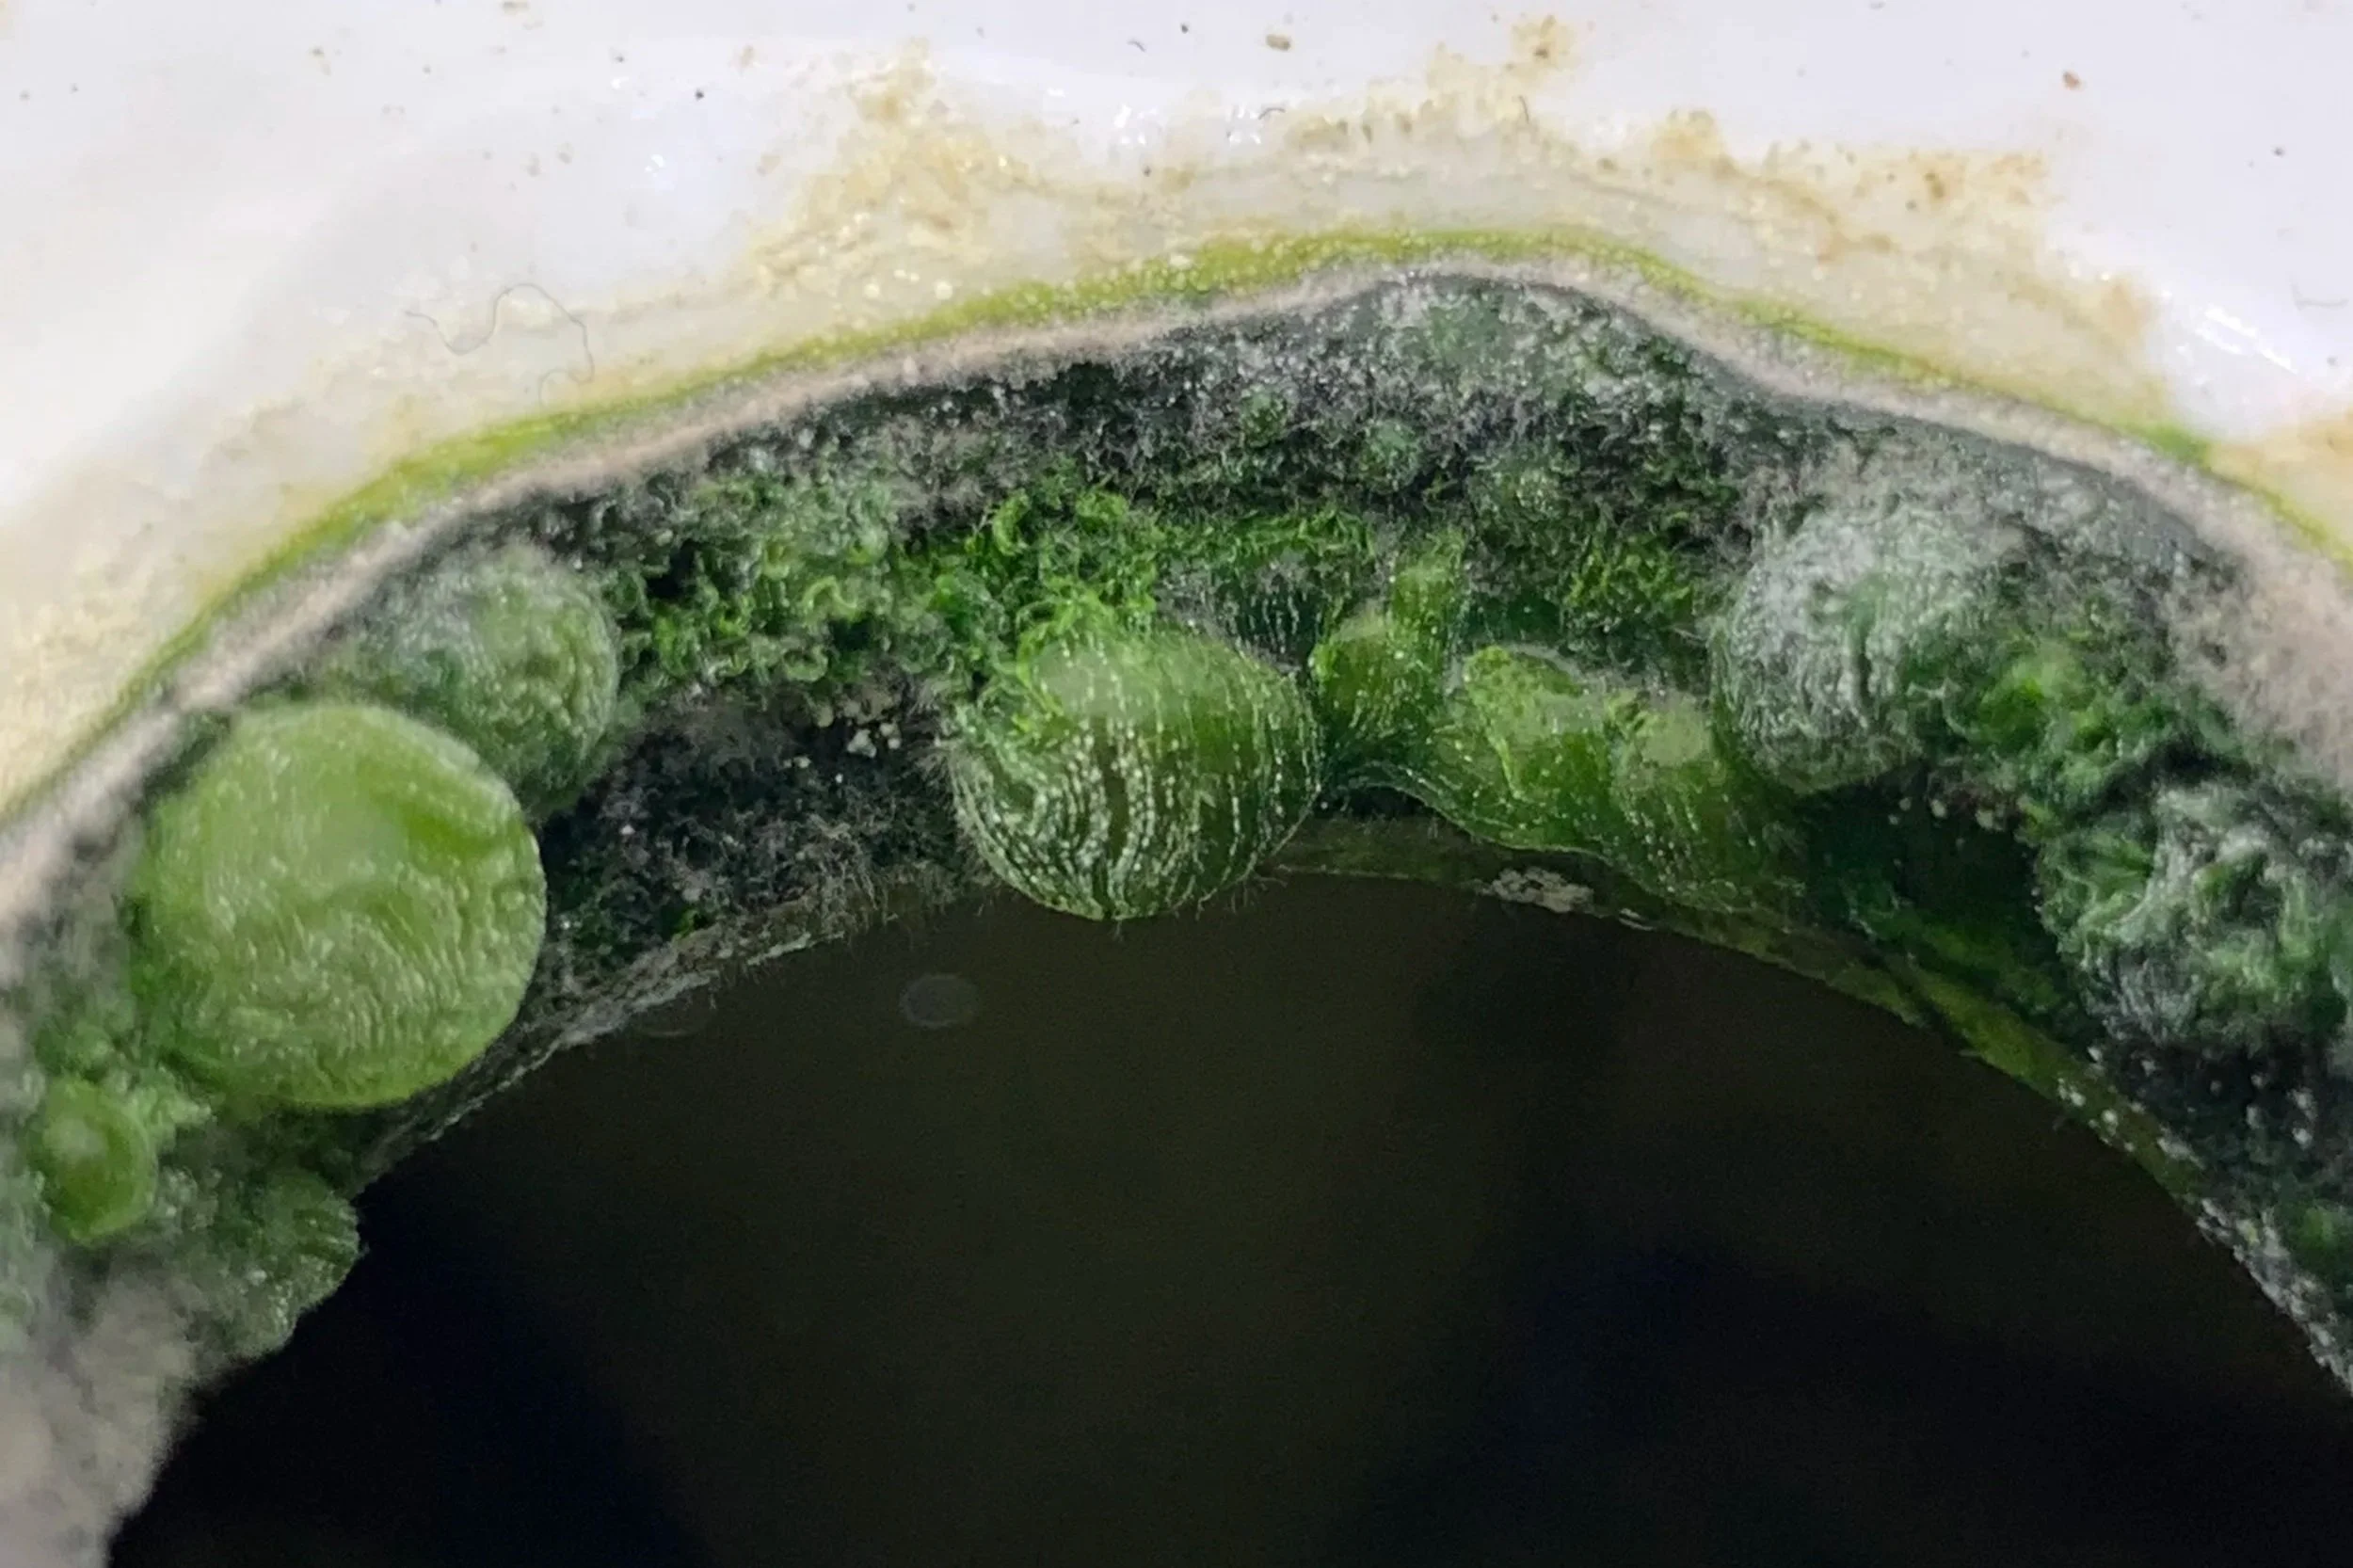
Step 2: Scrub the Grow Bowl
Once empty, you’ll likely notice sediment or algae stuck to the sides.
Use:
Warm water
A soft sponge
Avoid soap and avoid abrasive scrubbers, as they can damage the surface.
Take your time—this step sets the foundation for a clean restart.
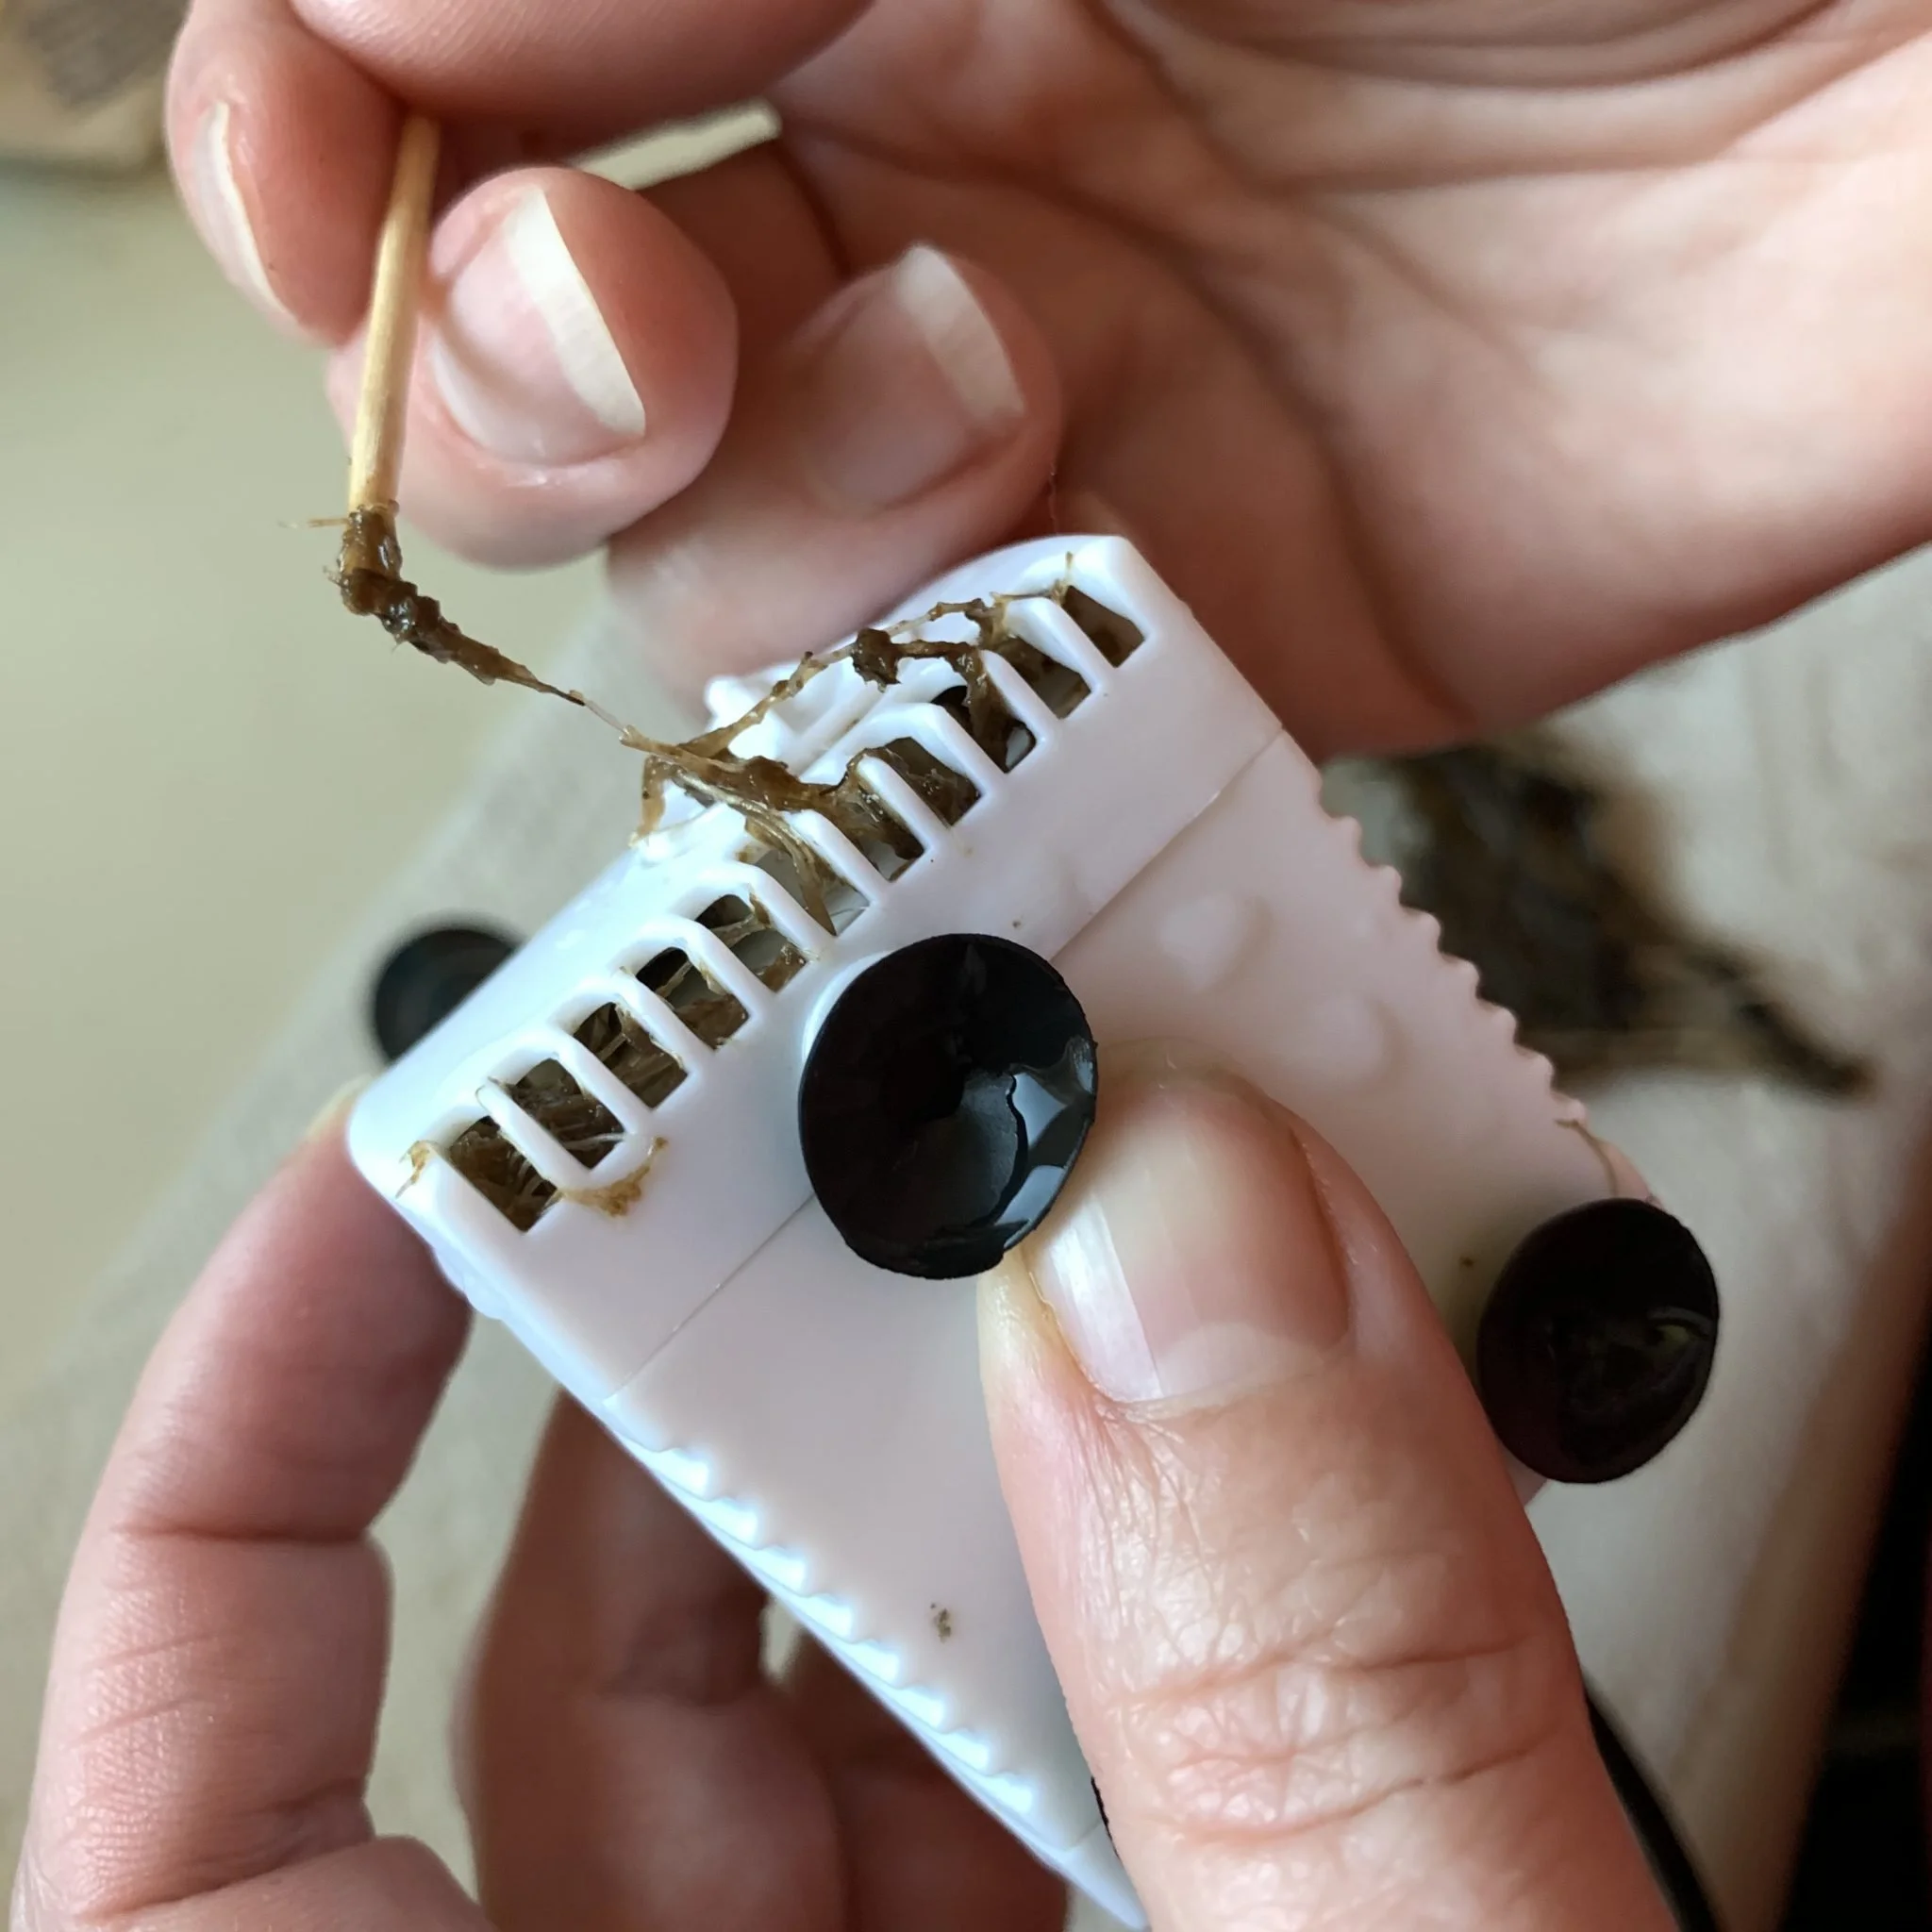
Step 3: Clean the Pump
This is where things can get a little interesting. If you’re lucky, you’ll just have light buildup. If you’re like me… you might find roots inside the pump.
To clean it:
Use a screwdriver to open the pump housing
Carefully remove the pump
Rinse thoroughly
If roots are stuck inside:
Use tweezers or toothpicks to gently remove them
Clean the outlet using a pipe cleaner
It’s tedious, but important for proper water flow.
Step 4: Clean the Top Housing
Wipe down the top structure with warm water and a sponge.
Then carefully separate the two halves of the top unit (if your model allows it).
⚠️ Tip: Only do a full disassembly once or twice a year to avoid damaging tabs or connectors.
Use:
Pipe cleaners
Q-tips
Clean all small channels where algae or residue can build up.
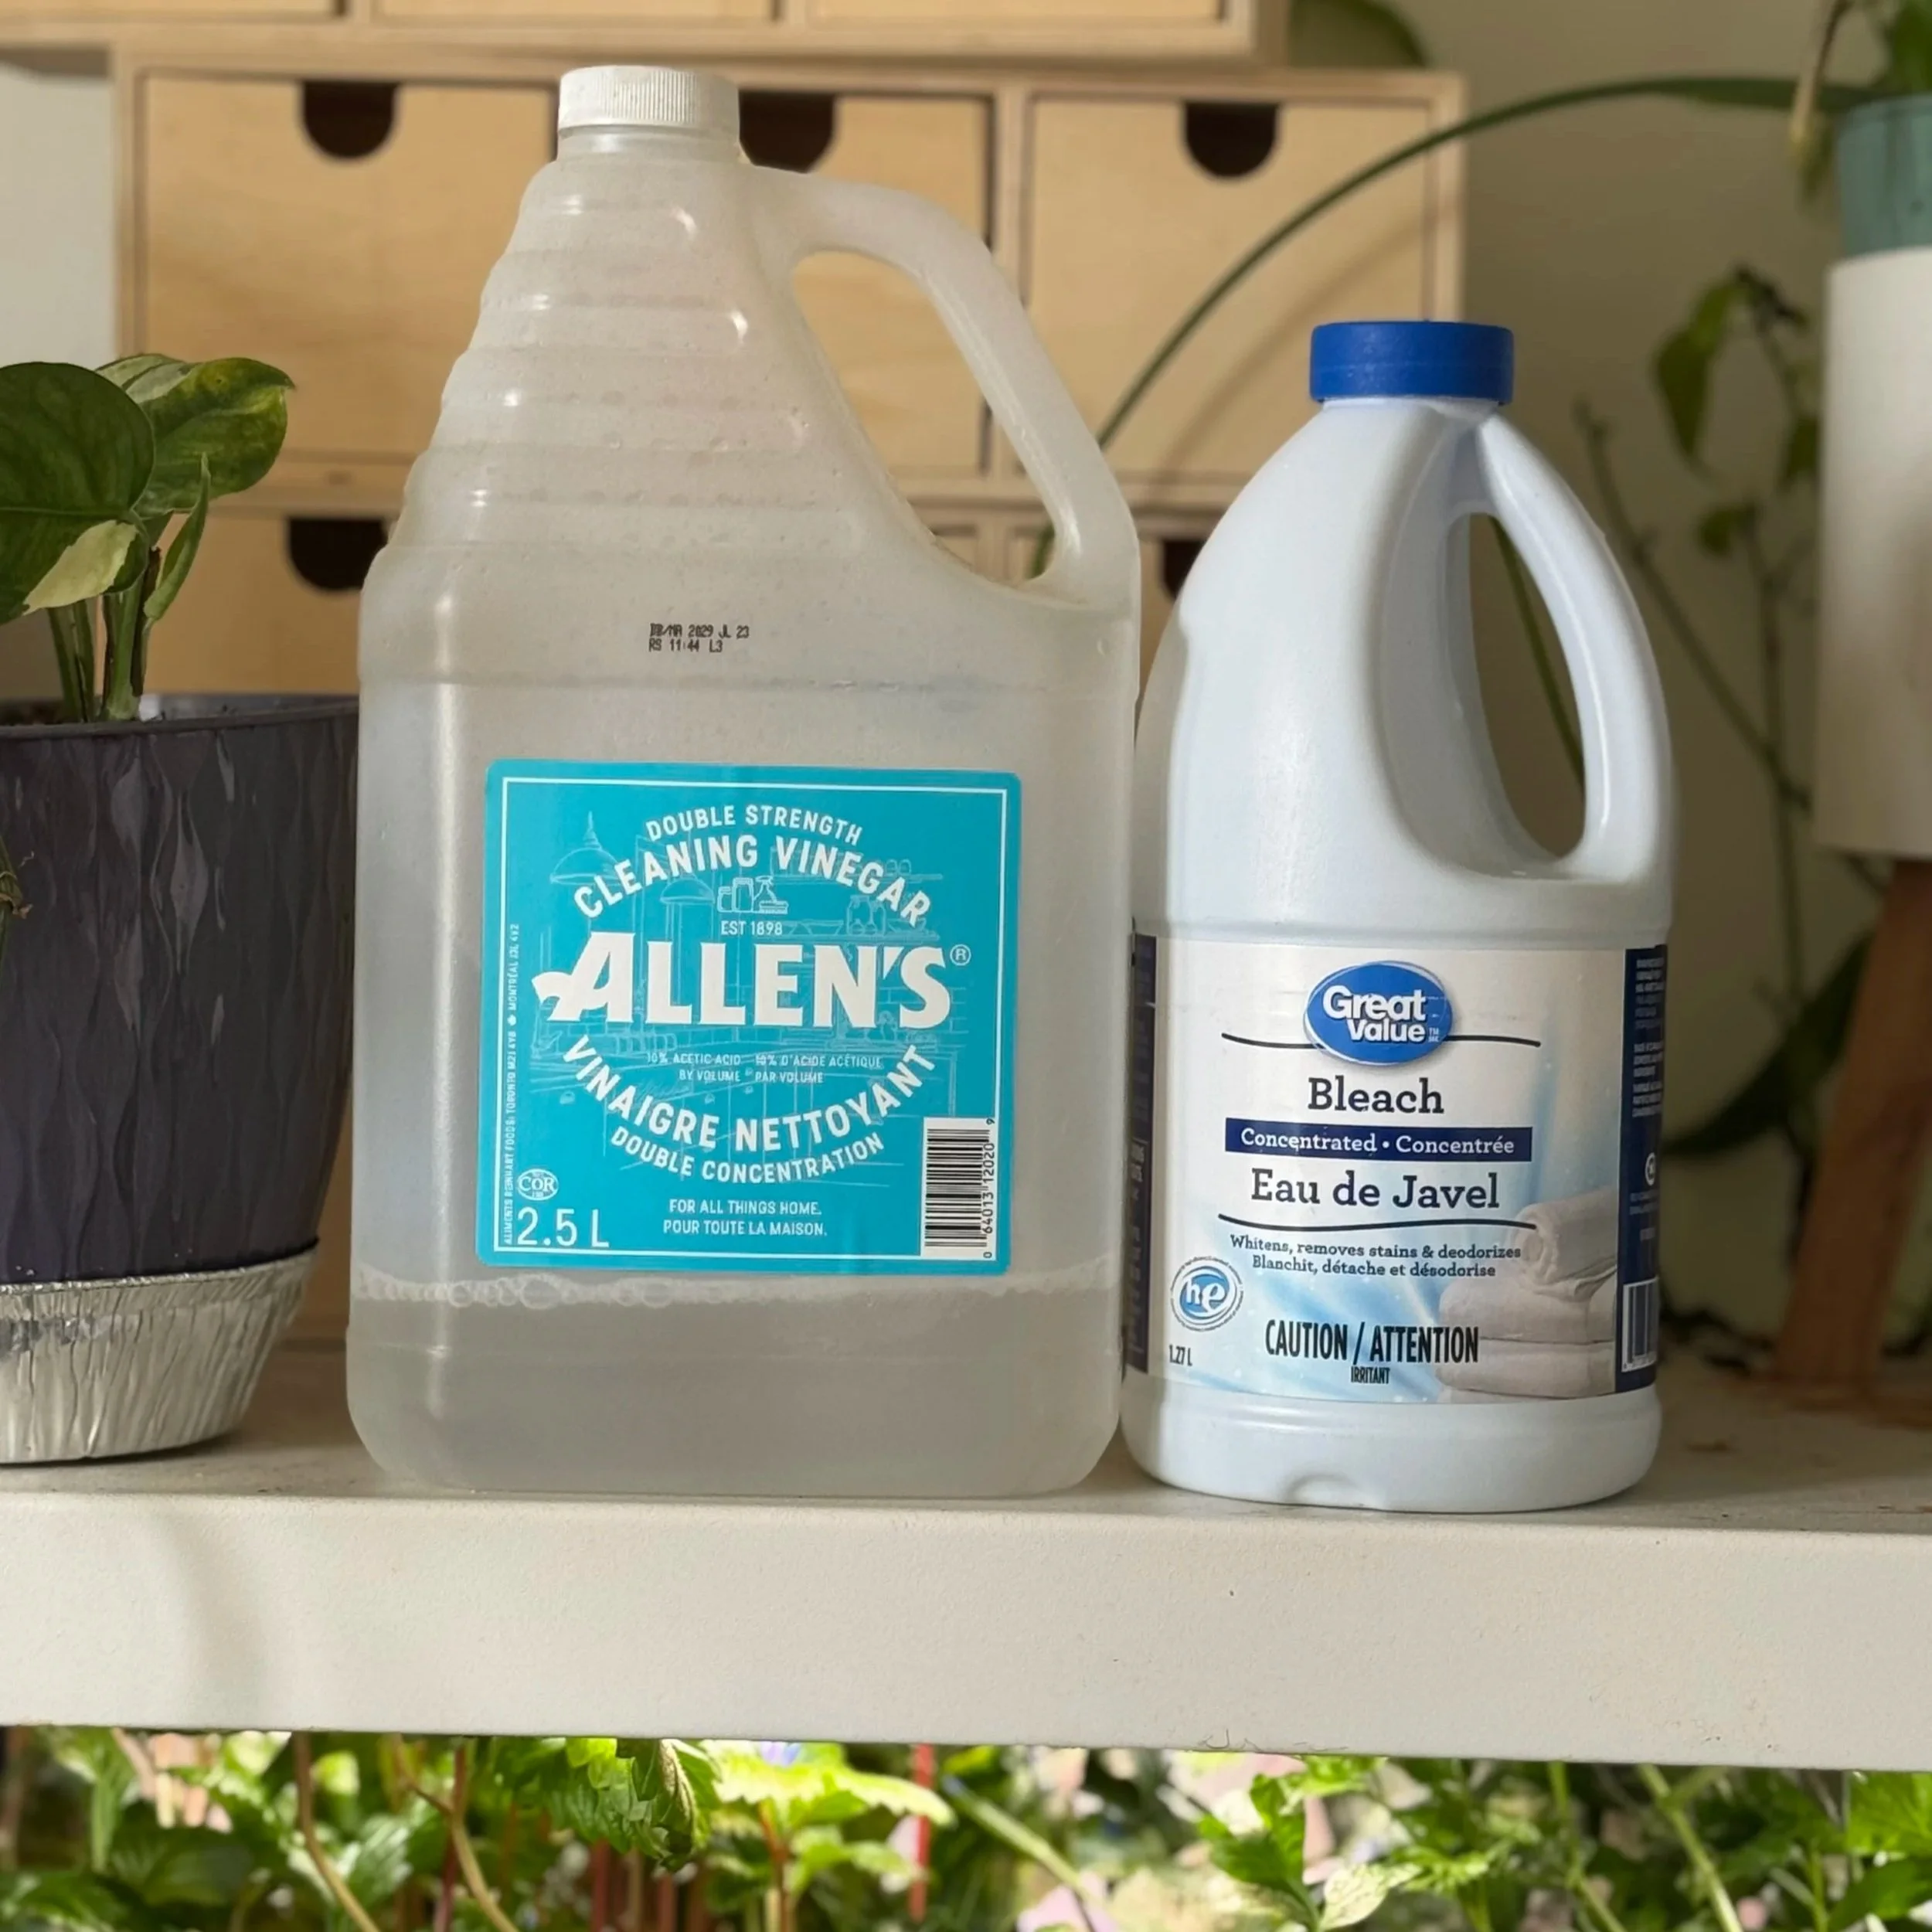
Step 5: Sterilize the System
Once everything is physically clean, it’s time to sanitize.
You have two options:

Option 1: Vinegar (Natural Method)
Mix:
1:1 vinegar and water
Run the system for 30 minutes, then:
Empty
Refill with clean water
Run for 5 more minutes
Vinegar is a great chemical-free cleaning option.
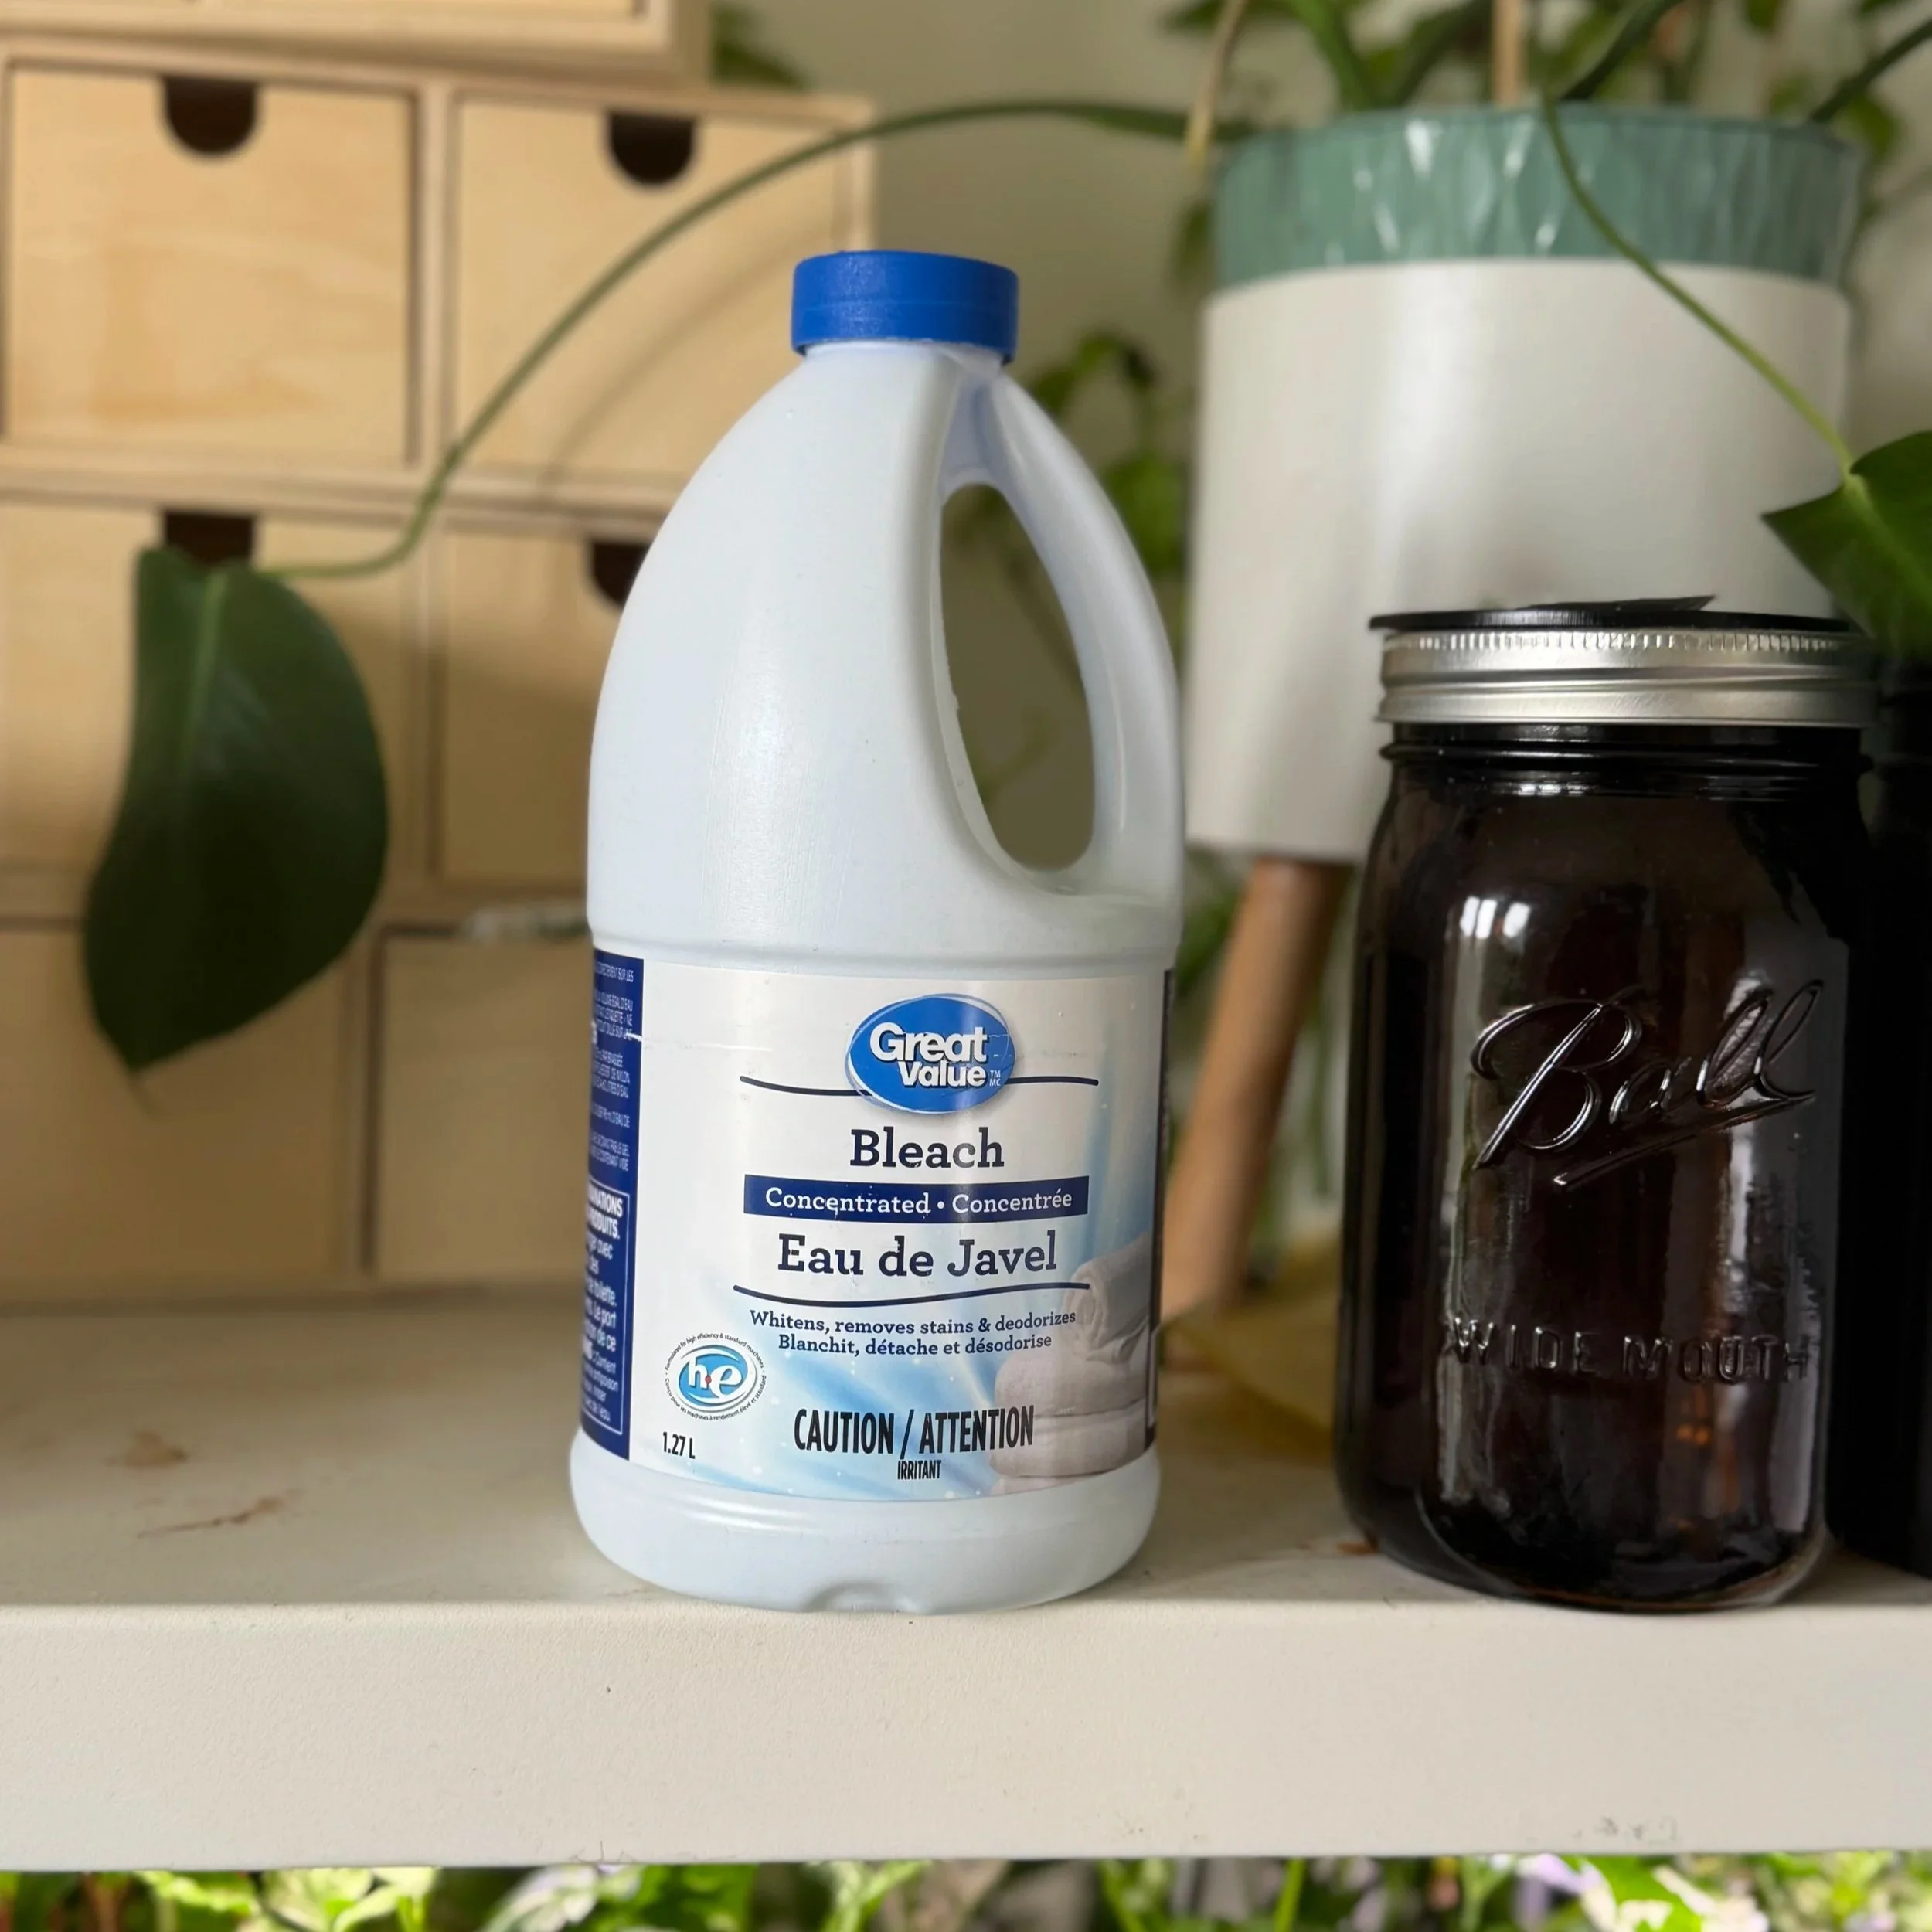
Option 2: Bleach (Deep Clean Method)
Mix:
¼ cup bleach per 10 cups of water
For most AeroGarden Farm models, that’s about:
¾ cup bleach total
Run for 30 minutes, then:
Drain completely
Refill with clean water
Run for 5 minutes
Drain againLet all parts air dry for at least 24–48 hours.
Step 6: Reassemble the System
Once everything is dry:
Reconnect pump and sensors
Reassemble the top
Refill with fresh water
Add nutrients
Check that the pump is running properly before planting.
Step 7: Restart Your Indoor Garden
Now the fun part—replanting.
This is a great time to refresh your setup with:
New grow sponges
Fresh nutrients
Your favourite seeds
If you’re unsure what to grow, stick with reliable crops like:
Lettuce
Herbs
Peppers
Compact tomatoes
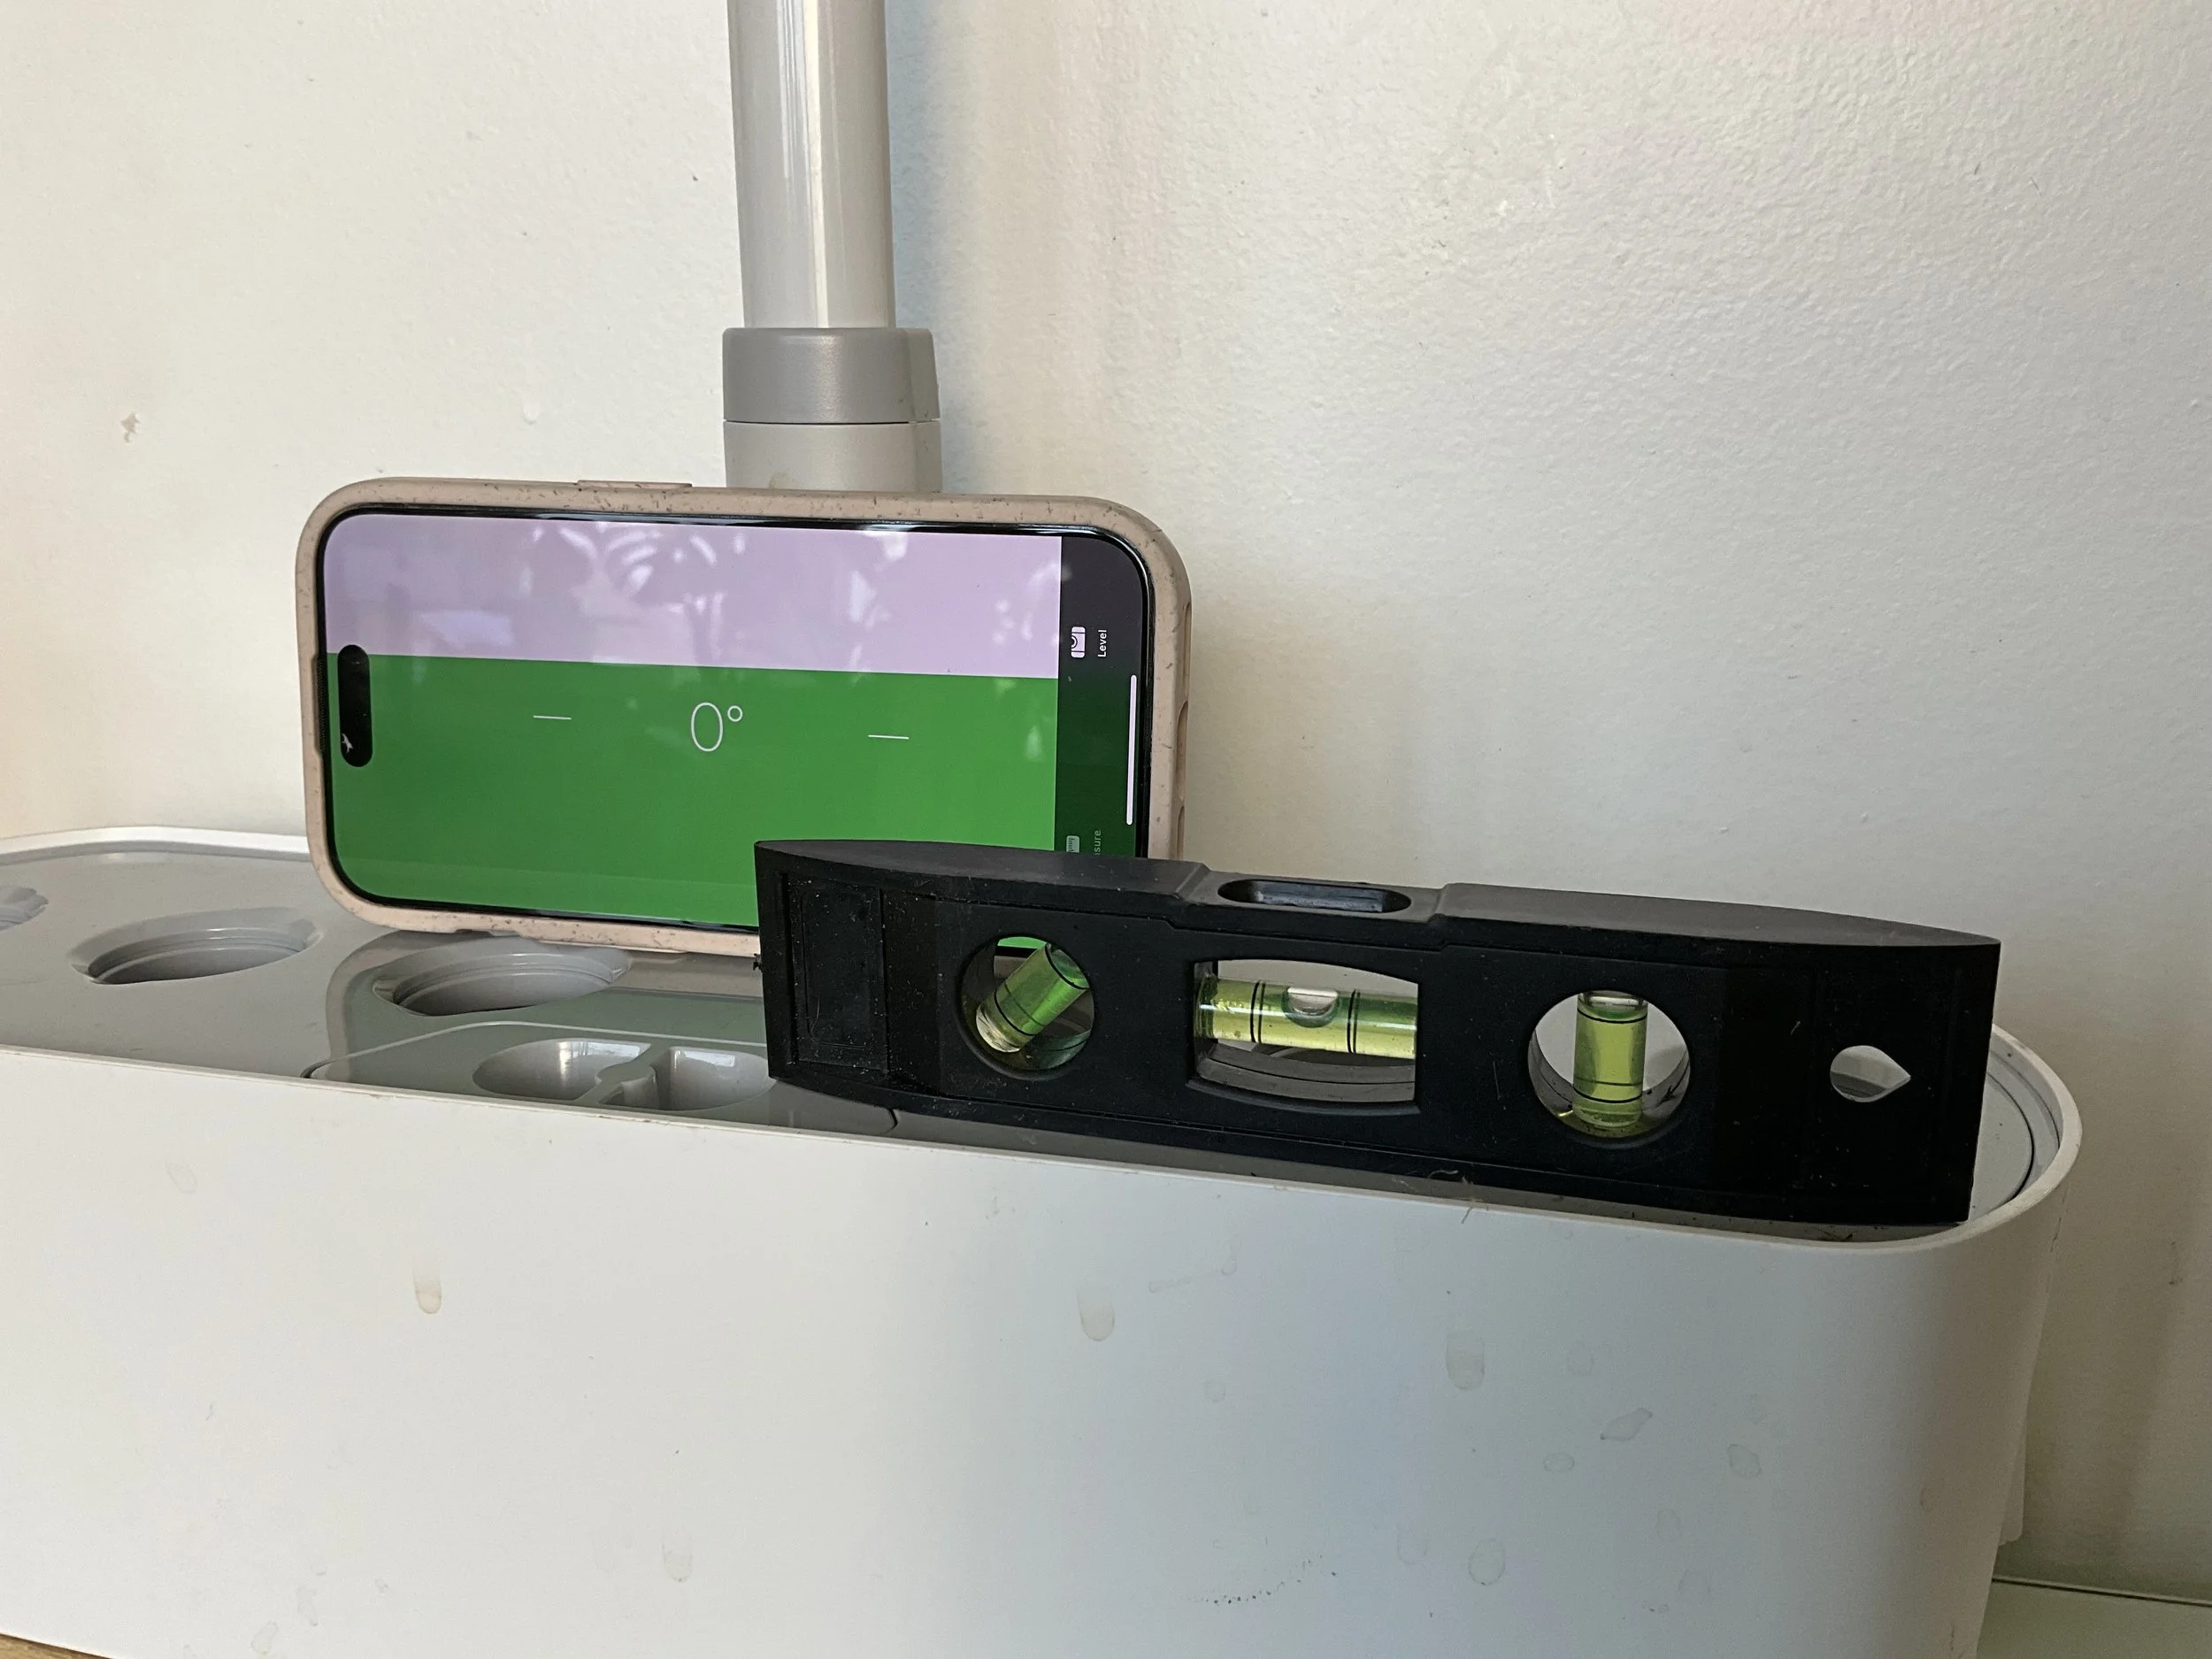
Bonus Tip: Check Your Level
One thing I didn’t expect when I first started growing indoors:
Level matters. A lot.
If your AeroGarden isn’t level, water distribution can become uneven.
A simple fix (like a small shim or cardboard under one side) can dramatically improve plant performance.
Final Thoughts
Cleaning your AeroGarden might not be the most exciting part of indoor gardening, but it’s one of the most important.
A clean system means:
Healthier plants
Better water flow
Fewer issues
Higher yields
Think of it as hitting the reset button on your indoor garden.